Pinhole Photography
Pinhole photography involves a pinhole camera, In which is technically known as a camera without a lens with a tiny aperture, however in a literal sense is a light-proof box with a small hole in one side. Pinhole photography works when Light passes through the aperture projecting an inverted image on the reverse of the box, known as camera obscura.
as seen to the right is a photograph of the pinhole camera i used in order to construct my negative images.
The camera was constructed within school, consisting of an MDF box that Inside was black card to prevent any light spilling into the box with a lid to secure the light doesn't come into the box unnecessarily, distressing the final image outcome also using the flap to control the exposure times and create the exposures.
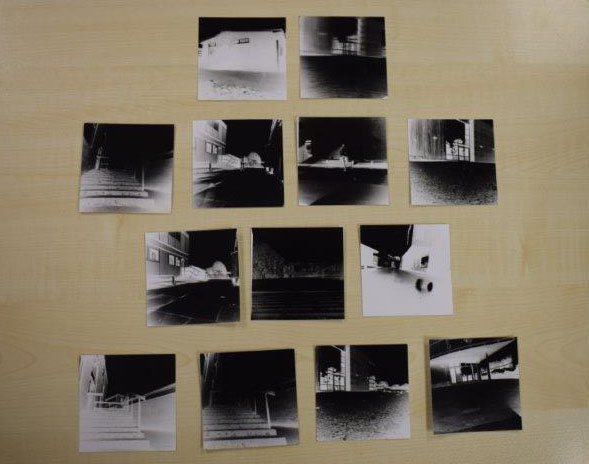
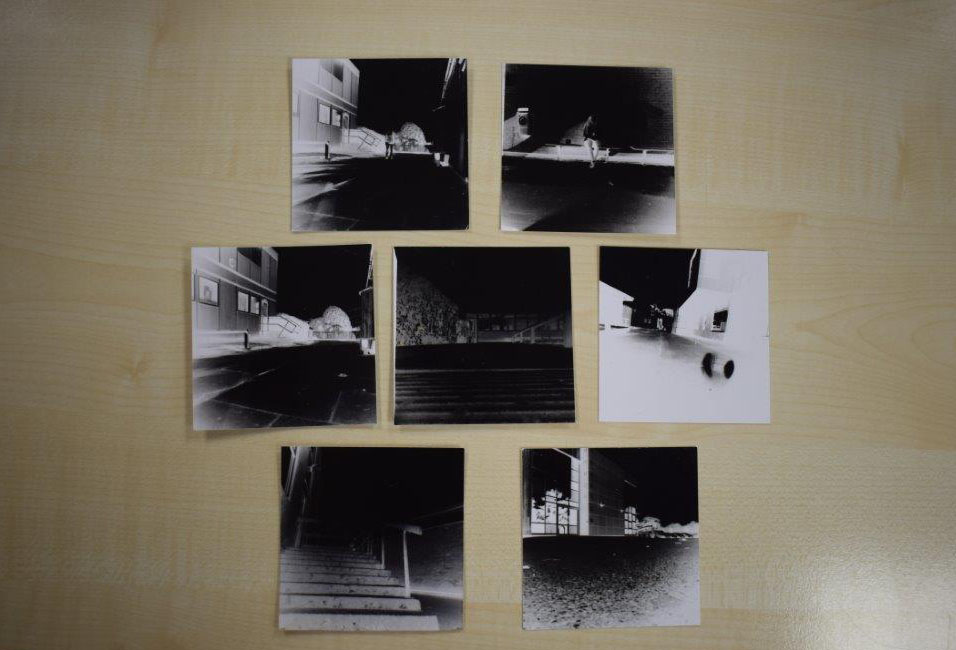
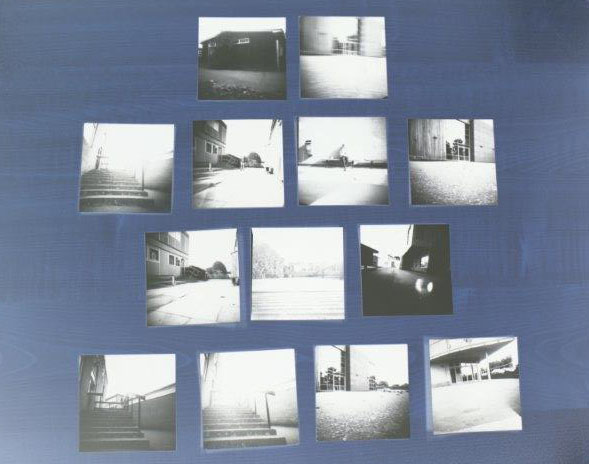
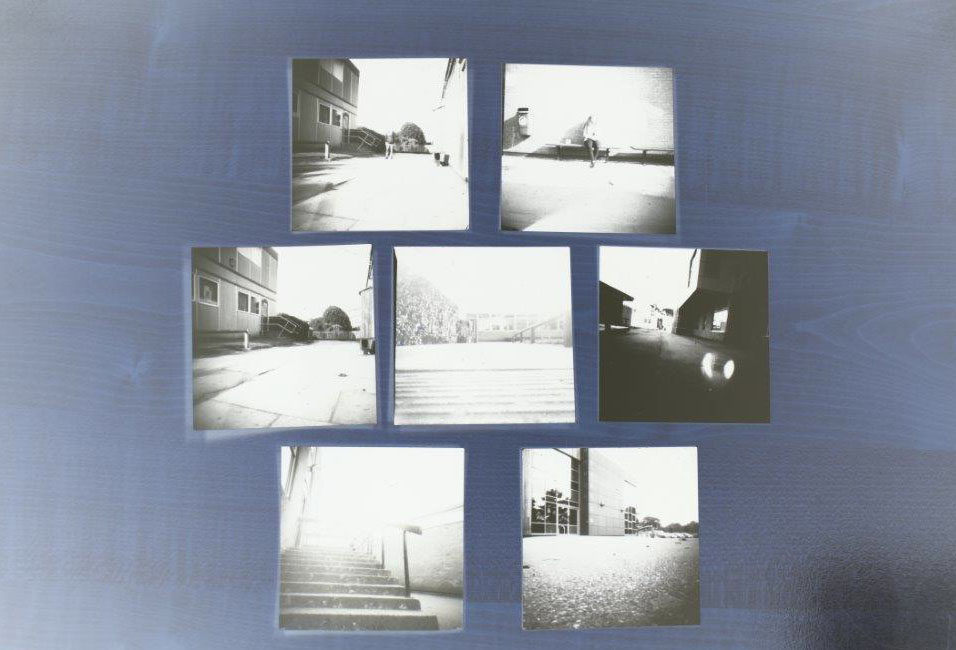
When using this technique i wanted to take abstract and unusual photos of buildings and their surroundings hoping to achieve high quality and unusual tonal images.
My first attempt.
I decided that both exposures should be between 1 minute 30 seconds and 2 minutes and 30 seconds according to what I had researched, however seeing as it was a dull day i completed both exposures at 2 minuets, after testing it first at 1 minuet 15 and the exposure being extremely under exposed however the 2nd and 3rd experimental outcomes worked really well.
I decided that both exposures should be between 1 minute 30 seconds and 2 minutes and 30 seconds according to what I had researched, however seeing as it was a dull day i completed both exposures at 2 minuets, after testing it first at 1 minuet 15 and the exposure being extremely under exposed however the 2nd and 3rd experimental outcomes worked really well.
Examples of class work
Dark Room process
When arriving at the dark room you must first close the entrance door before you can open the main door leading into the darkroom itself as seen above.
The dark room consists of a dry area and wet area. Within the red room there can be no white light or day light, only the red light can be present when developing exposures. Within the red room it is the one step that is easiest to make mistakes because of the strict lighting procedures that have to followed in order to get the best exposure possible.
When setting up the pinhole process you need to make sure that the red light is on before you expose the white photographic paper, if the photographic paper is exposed to light then it will ruin the paper and will no longer be adequate for use.
The Photographic paper needs to be placed opposite the pinhole in the camera/ box itself with the emulsion side (shiny side of paper) facing it. Following this you should place the lid on top and close the flap so no light is able to enter the box, once completed you can go outside and take the exposure remembering that the camera has to be stationary at all times when the exposure is being processed for the duration most applicable to the conditions of the surroundings.
When completed you need to go back into the dark room remembering to follow the procedures of closing the door before entering the next.
You then need to remove the white photographic paper from the pinhole camera, making sure the surroundings are safe to do so in order for your exposure to prevent damage. There are them 4 processes in order to develop the exposure;
Developer
Is a chemical solution that converts the latent image (still invisible) to a visible image. This is a form of Agitation and should take place during each step of the exposure process by gently rocking the tray, The exposure image needs to be placed in the developer for 2 minuets until the next process can be started.
Stop Bath
Is a Chemical solution that stops the development of the print and the exposure needs to sit in the bath for around 10 seconds.
Fixer
Is a Chemical solution that makes a photographic image insensitive to light, so that when it is exposed to light the image stays the same and doesn't irritate the image, that should be left in for 2 minuets in order to allow the image to fix fully.
Water Rinse
Preliminary rinse to minimise and since excess residual fixer from the white photo paper for 5 minuets.
Once these processes have been completed you should hang the exposure image to dry and wait to collect it.
Class Examples


