High Key Photography
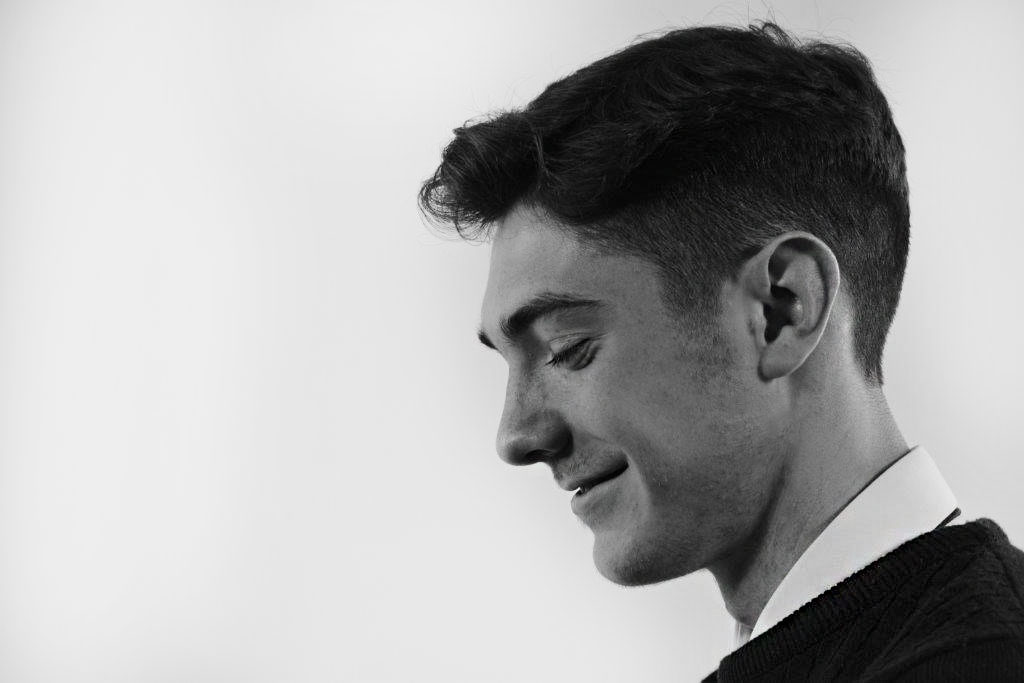
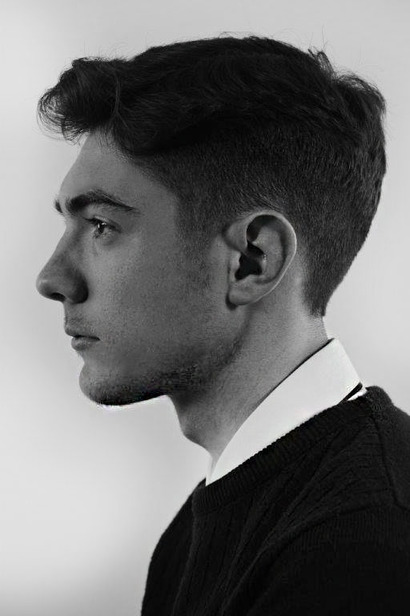
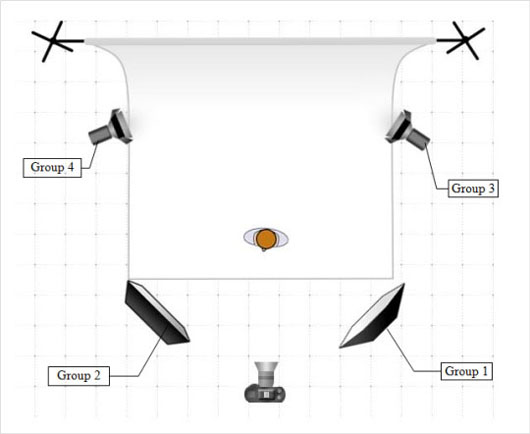
I created this shoot by putting up a white background together with four studio lights around the subject, two of which where directed to the background and two where directed towards the model. The camera settings were set to a low ISO, faster shutter speed and a wide aperture in order to capture a clear image.
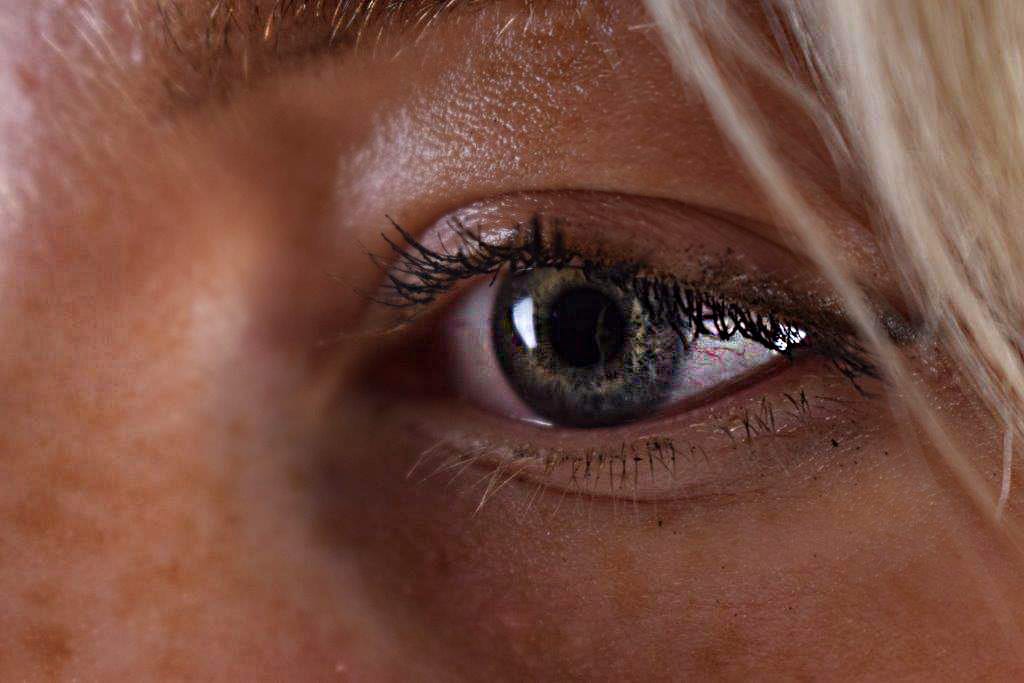
My first High Key shoot as seen below didn't go as well as i would've hoped however if i photoshopped then more to get rid of the shadows on the model and part of the background the shoot would've been more successful in my opinion.
I could lighten the corners of the images in photoshop as they appear to be a bit dark and slightly of colour. I could achieve this in the next shoot I do by using a slightly wider aperture and let more light into the image to get a sharper more crisp photograph.
When I use a high-key shoot next time I will use a wider aperture and will try to allow more light into the image, in addition to this i will also adjust the lighting that hits the model, by deflecting of moving the light closer, to try and create a crisp, bright High Key Photo.
High Key set-up
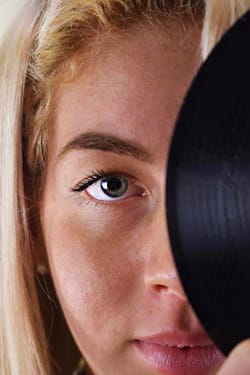
This type of photography is used in advertising as it makes the colours very vibrant and has little or no background so the focus is on the product,
When shooting a high key photo High Key photo the set up needs to be as shown in the picture above, including a white pull out background trying to avoid folds and as many creases as possible when being positioned, then have two backlights positioned at the back of the subject and two soft boxes positioned at the front of the subject either side of the camera ensuring the background and subject is lit up to minimise the amount of shadow.
Your model should stand a few steps in front of your solid white background, if the model is too far back you will get a dark shadow which defeats the objective of high key. If the picture has marks on the background, you can use light to improve it, or alternatively edit it on Photoshop with the healing or the clone tool so that its unseen.
For this particular shoot I wanted a large aperture to pick up lots of light. My first high key shoot didn't go as well a I hoped. I didn't experiment with different props this time as I wanted to explore high key on its own and as I develop my skills within this particular shoot I will explore different techniques and maybe use props to test out how they look in the photograph.
However, If I was to re-do my high key shoot, I would position my model even closer to the light to make them the sole focus of my photo also I could use 4 large spotlights instead of two soft boxes and two spotlights and have two facing the subject and the other two facing the ceiling so the light reflects back down onto the subject reducing the shadows shown.


